These steps are only needed if for some reason like I find a conflict or a mapping problem occurs and the task-flow-registry.xml file is the not picked up by the portal meta data management service.
After you create your own bounded taskflow, register and deploy to your webcenter portal weblogic server.
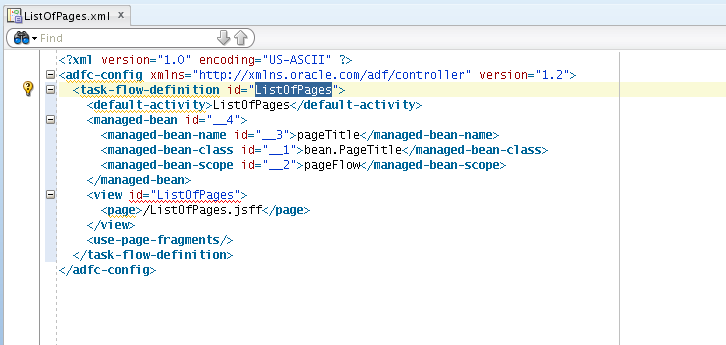
Look at your taskflow definition from your bounded taskflow in the below example my definition is called customflow.xml. Then find your id of your taskflow mine is customid then use this to fill in the url attribute example would be “taskflow://WEB-INF/customflow.xml#customid”.
Change up the value fields as you wish for display purposes when you add the following task to the Resource Catalog.
### example entry ##
<folder id="newfolderid">
## end of example ##
After you change the above xml to match your taskflow definition log in as an administrator in your webcenter portal. Then go to the Resource tab and click on the Resource Catalogs item under the Structure section.
1. If you have not already you need to copy the Default Space Catalog and name it what you want.
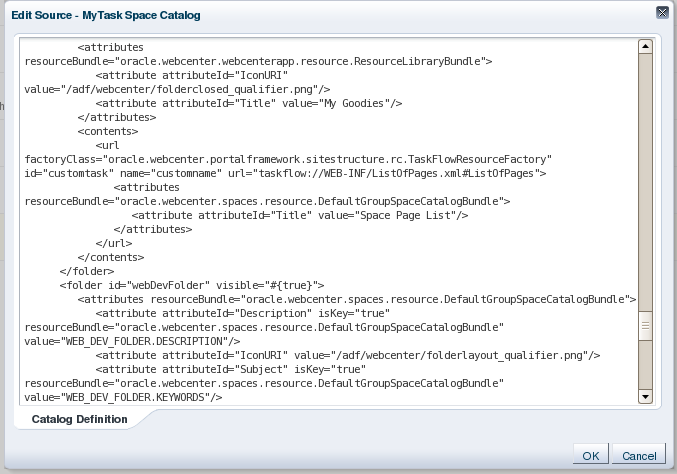
2. Then select the new catalog and click the edit button then select edit source.
3. Find an existing url tag and paste your changed above xml from folder to folder tags above one of the existing url tags.
4. Then just change your default resource catalog for the space you want to use your new taskflow.
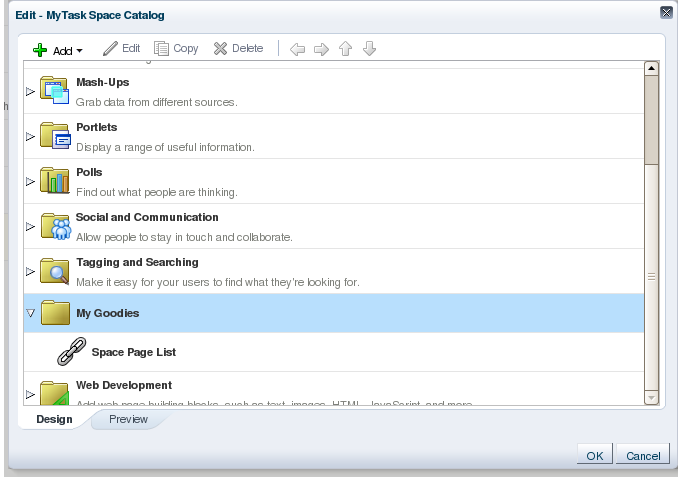
Picture of added folder in visual edit mode of the resource catalog view.
Here is a picture of the finished component added to my personal space page.
